In this Semester in total I had used 5 Software and here are my experiences with them:
1. Adobe Photoshop: With this software I figured out that you can do so much with it, this software a large variety of elements which can be utilized to modify or edit a photo or a picture, in which which that is what this software is suppose to do, it is a graphics and image editing program. At first when use Photoshop for the first time it may look a bit complicated, but really its pretty simple to use. Once you start to play around with it in no time you will be a pro with it.
2. Adobe Illustrator: With this software you can do a lot just like with Photoshop, but the main purpose for this program would that it is used for making graphic designs and illustrations. Pictures created in this software can be made bigger or smaller, and look exactly the same at any size. And again like Photoshop a lot can done with this software with its components.
3. Google SketchUp: With this software I have encountered the most problems with, but this is probably my favorite of them all. I say this because this this program you can create almost any kind of 2D or 3D model of something. And since I enjoyed this one the most I had learned the most from it. SketchUp is a 3D Modeling program for applications such as architectural, interior design, civil and mechanical engineering film and video game design. So much can be done along with its tools and components as to create something magnificent.
4. Microsoft Publisher: With this software I have the least experience with, since this program wasn't used as much as the rest were in my whole semester. But I can say that this software can be used to create professional and creative documents such as brochures, newsletters, cards and other printed materials. This program also contains a built-in word processor with a spelling checker, so you can create and design documents without using another program in which this program holds some components that most word software all contain.
5. Microsoft PowerPoint: With this software you can create presentations that are used to communicate effectively with the audience. I've used this program for a long time now even before I had started this Semester of Multimedia, this program is most likely the simplest of all the other software I had used to create effective presentations that looks phenomenal. Overall this program was the program I was most familiar with when I started the Semester and knew how to utilize it the best to effectively use it for my presentations.
Conclusion: What I will be taking with me as I prepare for my next elective course would be the knowledge of what I've learned throughout this course, such as what is Multimedia or the meaning of each kind of Format a file is encoded for storage. With all that and the creation of this blog in which ironically symbolizes the idea of Multimedia all together with me updating the kind of assignments I had underwent and completed all represent Multimedia. And surely I would cherish this knowledge and expand on it to share it on forward to others and when I do they will know the meaning of Multimedia.
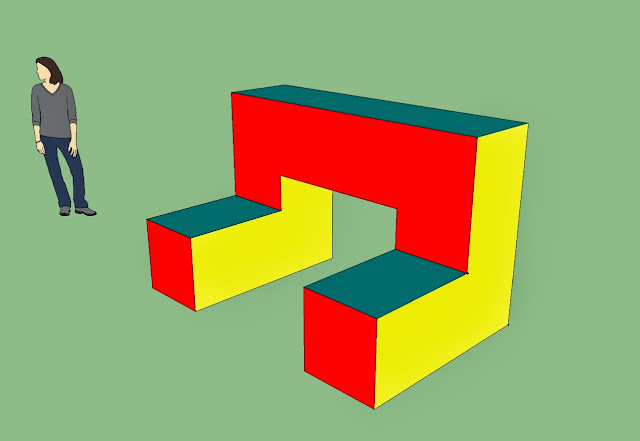
Extra Credit: 20 Blocks

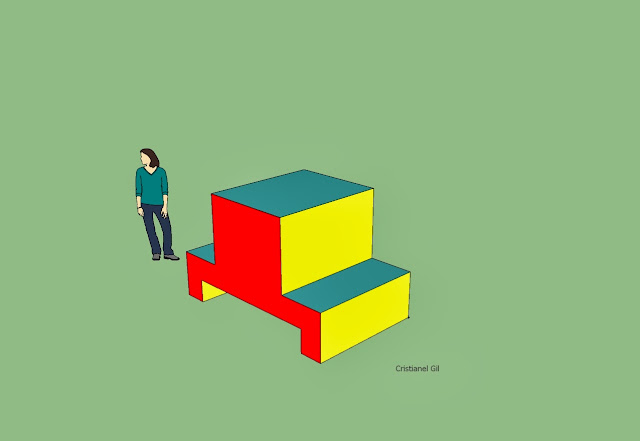
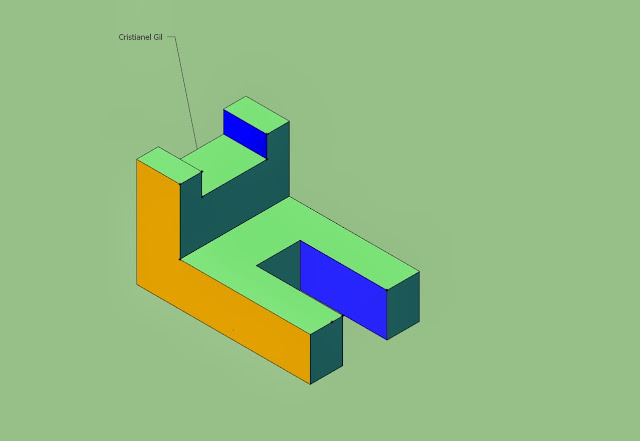
In this assignment I used Google SketchUp and Adobe Photoshop to my Extra Credit Blocks. In Google SketchUp I made 20 3x3x3 blocks and with those blocks I've created the specific shape each block should look like from a perspective that shows the front and sides of the blocks, and then so after that adjusted the perspective to only show the top of the blocks an so which is what I need in order to figure out the exact letters for each block. And so which I used Adobe Photoshop to label each block and save it in the .JPEG format.

 ***************************************************************
27: Brochure

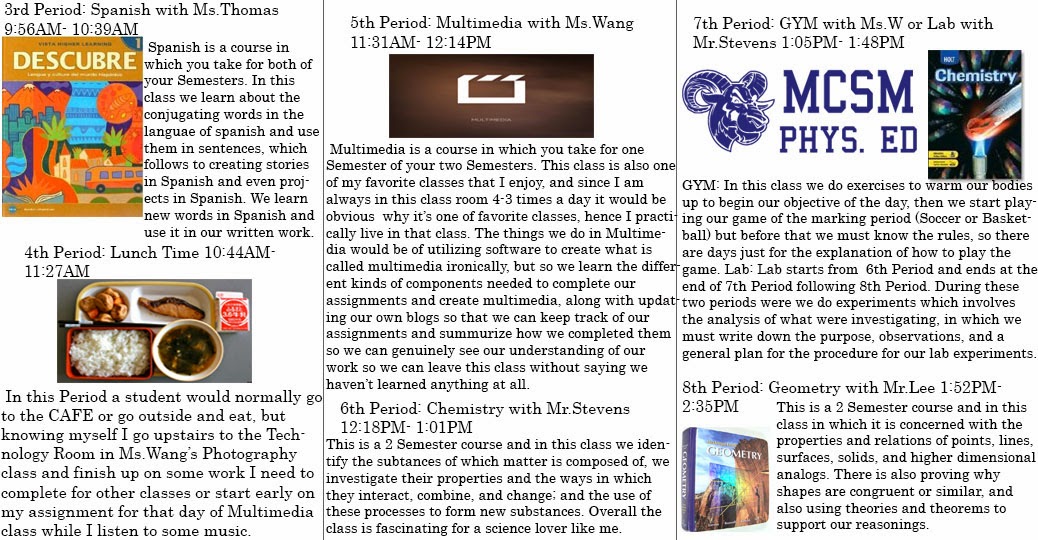
In this assignment I had completed a Brochure using Adobe Photoshop, and in the process of creating this Brochure I had to create a file in which its canvas and image size needed to be both in landscape form and as well have 3 columns, in which I drew 2 lines as the border for these columns, within each column would be information about my school life as a MCSM student, in which pictures are provided as well so that it seems that you are actually reading a brochure.
***************************************************************
26: Showcase Room

Creating a Showcase Room using Adobe Photoshop is what I have done in this assignment. In the process of creating this showcase I mainly used the Rectangular Marquee Tool, Rectangle Tool, Elliptical Marquee Tool, and other more tools that helped with creating the light effect in the showcase room. View > Rulers helped greatly with creating the dimensions of the showcase room, in which the guidelines helped me get the right measurements for the rectangles needed. Edit > Transform > Perspective helped me create 3D corner view within the the whole triangle, in which the perspective was adjust for the Floor and Ceiling Layers. Layer Styles were added all of the sides inside of the showcase room. With the layer styles applied to the showcase the showcase room doesn't look like a bunch of polygons together but look actually like the inside a rectangular prism. With the creation of the light effect, opacity was key importance, since it displays the brightness of the light, along with the brightness with the floor and the middle wall as we show reflective light from the walls. Finally, when it comes to adding your merchandise on the Showcase Room , I needed to find some kind of model that I can display on my showcase, so I found multiple views of a Figma (model kit) of Dragon Crown's Elf and I placed it inside the Showcase Room, but before placing it I had to erase the background of the Figma and just leave the model kit itself so I can place it in my Showcase Room to be displayed as my merchandise. Now the Showcase Room is complete. Problems Iv'e encountered in the process of creating my Showcase Room was actually placing my merchandise onto the Showcase Room, in which I asked myself is how I was going to erase the background of my object so it stand alone by itself so it can be displayed. After numerous attempts on trying the Magic Wand Tool to select and delete the unnecessary background I ended up always cutting off a chunk or piece of my object, so my solution was to use the Magic Eraser Tool and have its tolerance toned down where in I can work around the background and erase the background while not erasing any part of the model, and i have to erase any tight spots between the model I just need to adjust the tolerance of the Magic Eraser Tool. The advantage of using the Magic Eraser Tool rather than the Magic Wand Tool was that it was quicker, in which I don't have to press the delete button such as with the Magic Wand Tool after selection, and with the Magic Eraser Tool the space I want to erase erases automatically after I click over it. Also I can switch to the Eraser Tool quickly and erase any parts of the picture that can be erased easier with this tool than the Magic Eraser Tool.
25: Animation Button

Creating an Animation Button using Adobe Photoshop is what I have done in this assignment. In the process of creating this animation button I mainly used shapes and Layers Styles, such as Inner Shadow, Outer Glow, Inner Glow, and Gradient Overlay. With these Layer Styles applied I ended up with a "Glowing Effect" coming out within my button. In the process of making the animation of the Power Button I had to have two separated buttons, one with the Layer Styles that gives the button a "Glowing Effect" and another button that doesn't have those Layer Styles and is just the button without a "Glowing Effect". And so during the animation process there were different frames that displayed the Power Button either off or on, depending if that frame contained the button with the "Glowing Effect" or not, and so as the frames are played the button seems like it's turning on and off with its Glow.
Quiz Questions:
A) What is .GIF?
.GIF means Graphics. Interchange. Format, but better known by its acronym .GIF. .GIF is a bitmap image format that was introduced by CompuServ in 1987 and so has since become a widespread usage on the World Wide Web due to its support and portability. The format supports up to 8 bits per pixel for each image, in which allows for a single image to reference its own palette of up to 256 different colors chosen from the 24-bit RGB color space. It also supports animations and allows a separate palette of up to 256 colors for each frame. In which this information was stated by Wikipedia.
B) How does animation work?
Animation works by utilizing frames in a continuous sequence to create an illusion of movement and so by playing that sequence of frames you create what is called animation.
******************************************************
24: 3D Viewing of Gingerbread House
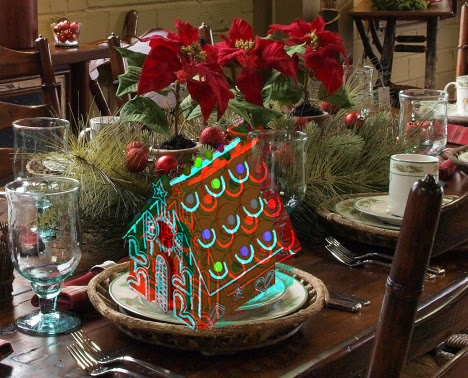
Creating a 3D viewing of my Gingerbread House using Adobe Photoshop is what I have done in this assignment. The first thing I started with was to open Adobe Photoshop and then create a new file. And so create a new layer that would be the foreground along with the background layer. The foreground layer would be the layer that I will turn 3D, while the background in the 2D layer or "flat" image behind it to establish the illusion of depth. In my case I'm using a Christmas themed dinner table as my background and my Gingerbread House as Foreground. I would load the Christmas themed dinner table into the "Background" layer and place the my Gingerbread House in the "Foreground" layer in a location that would best suit it, in my case a plate, and so the Gingerbread House is the object I want to convert into 3D. Now, I would duplicate the foreground layer and name the new layer "Red". Now I will nudge the "Red" layer to the right or to the left, but that depends on the depth I would want my Gingerbread House to appear, but I chose right, and so by pressing the particular arrow key (15-20 times) I would move it. Now, I would want to double click on the "Red" layer and uncheck the "G" and "B" channels. And so I would do the same to the "Foreground" layer, but this time I would only uncheck the "R" channel. Simply what I have done was separate the RGB channels, red and blue, to create the illusion of "3D". Now the 3D viewing of my Gingerbread House is done.
******************************************************
23: Gingerbread House


Creating a Gingerbread House using Google Sketchup is what I have done in this assignment. In the process of creating this Gingerbread House I mostly used the Line, Circle,Push/Pull, and Free Hand Tools.The Paint Bucket was also a key Tool. There were certain measurements I had to use to create the foundation of the Gingerbread House and so after the foundation is complete I would add the essential decorations for my Gingerbread House using the Tools I have mentioned before. In the making of the stars in My Gingerbread House I've used the Line and Push/Pull tools, but for my hearts I've used those two tools including the Circle Tool. The cookies done in my Gingerbread House were made with the Circle Tool and Push/Pull Tool. The frosting of my Gingerbread House was made with the Free Hand Tool and Push/Pull Tool, and so the rest of the Gingerbread House was made with the Line Tool. I have obtained the Gum Drops for my Gingerbread House from the 3D Warehouse, in which I download the model directly into Google Sketchup. Problems I have encountered in the process of creating my Gingerbread House be of working on the 3D model in which when using the either the Line or Free Hand Tool, you may be not be exactly working on the slope you intend to work on so either you are working on mid-air or just not the correct surface you want to work on. Also another problem that i have encountered would be of placing the Gum Drop models onto the Gingerbread House since the house is a 3D model and when moving the Gum Drops it may seem like you've placed it on top of the house but actually you haven't, the reason for this would be of the perspective you are viewing the Gum Drops in which could deceive you when it comes to 3D models and so you must use the Orbit Tool to adjust the Gum Drops until you position them correctly on top the Gingerbread House. And so now it is done.
******************************************************
Quiz: Block #14 LxWxH of 12'x4'x6'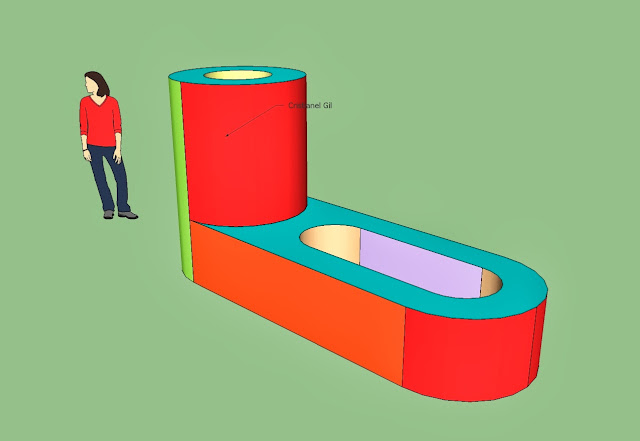
******************************************************
Quiz Block #4 LxWxH of 8'x5'x5'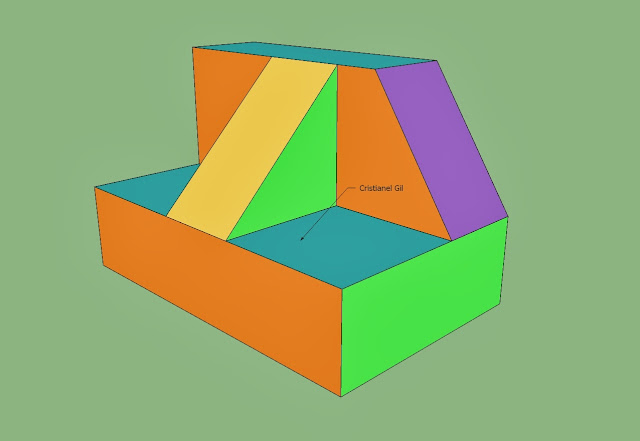
******************************************************
22: Block 12 LxWxH of 9'x4'x6'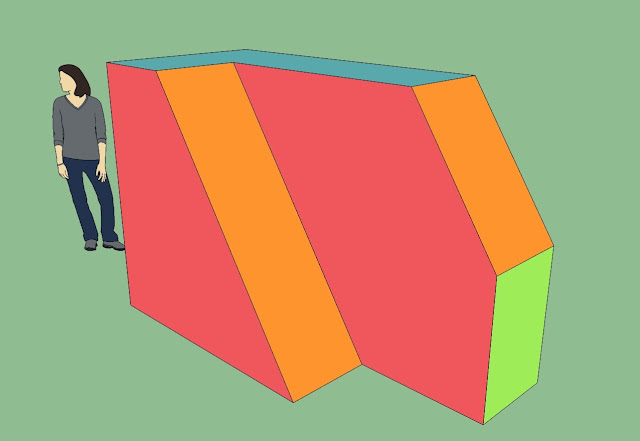
******************************************************
22: Block 11 LxWxH of 8'x5'x6'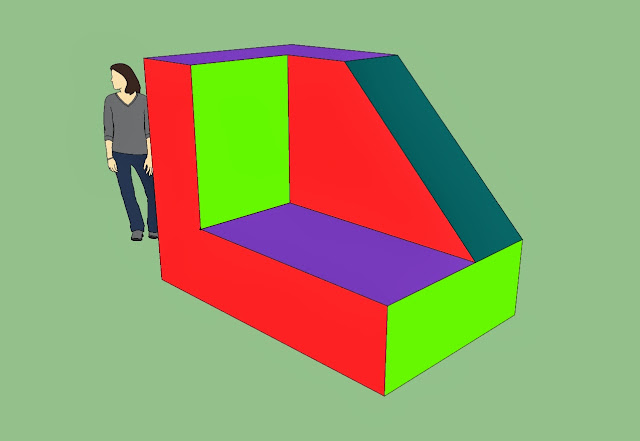
******************************************************
22: Block 10 LxWxH of 11'x3'x6'
******************************************************
22: Block 9 LxWxH of 9'x4'x6'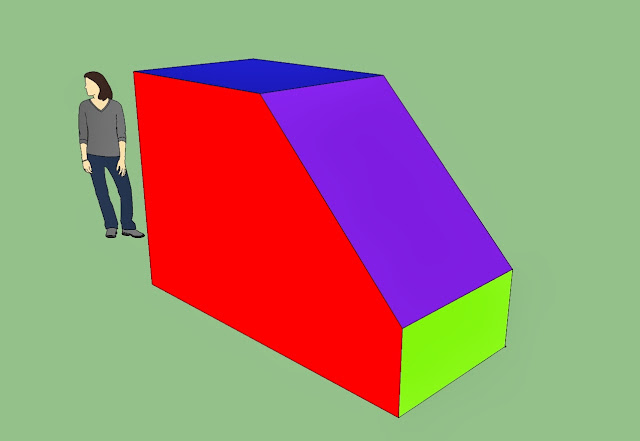
******************************************************
22: Block 8 LxWxH of 9'x5'x6'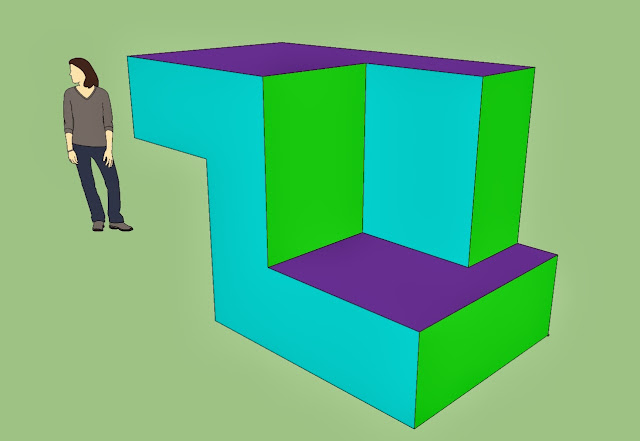
******************************************************
22: Block 7 LxWxH of 8'x5'x6'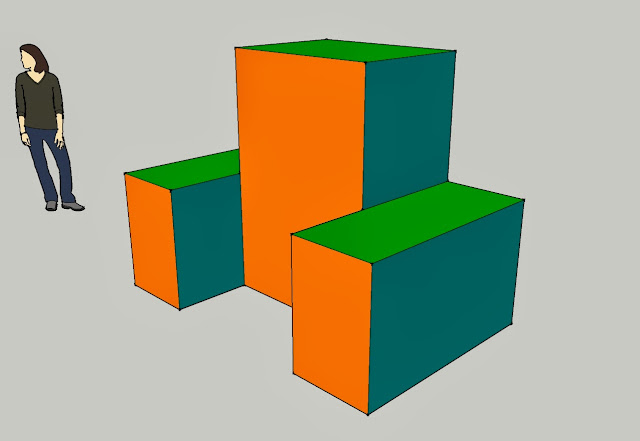
******************************************************
22: Block 6 LxWxH of 8'x5'x6'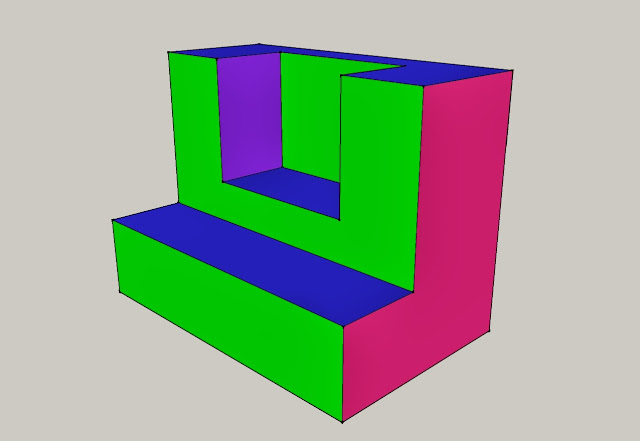
******************************************************
22: Block 5 LxWxH of 8'x5'x5'
******************************************************
22: Block 4 LxWxH of 7'x6'x4'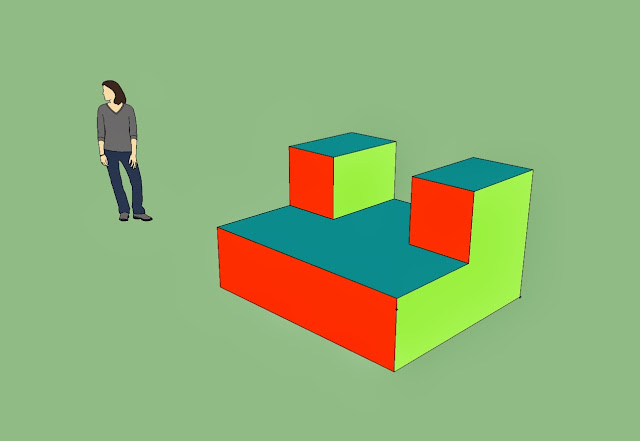
******************************************************
22: Block 3 LxWxH of 9'x4'x6'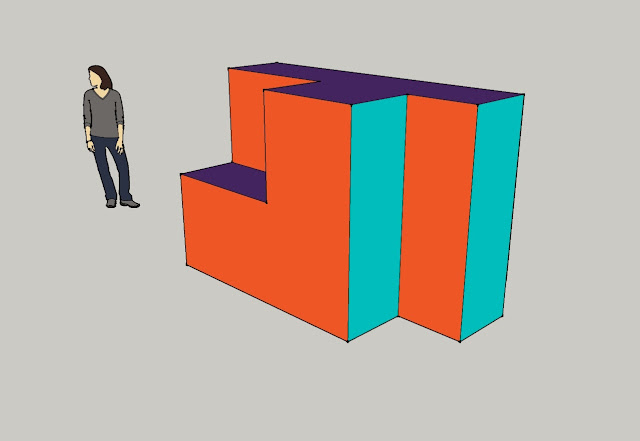
******************************************************
22: Block 2 LxWxH of 8'x5'x5'
******************************************************
22: Block 1 LxWxH of 8'x5'x5'
******************************************************
21A:

******************************************************
21B:

******************************************************
21C:
